Pick your setup below and follow the steps — the same guide that's built into the app.
1 · Your computer
2 · Your second display
3 · Connection mode
Watch the Tutorial
See how to set up SideDisplay in just a few minutes.
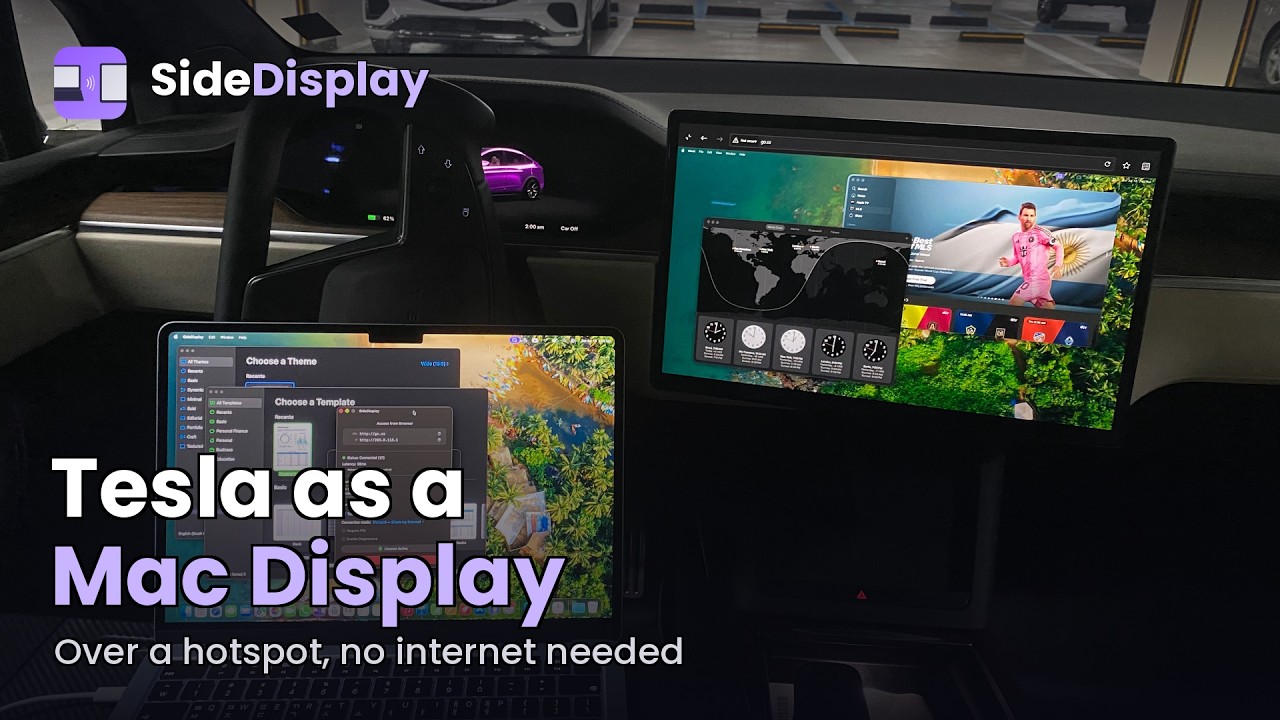
This is the same guide built into the app. You can reopen it anytime from Help → Getting Started, which walks you through every device and connection mode. Once sharing, you can arrange the display in your system's display settings, just like any external monitor.
If you experience any issues, open the app and check Enable Diagnostics, then click Start. Use it until the issue occurs, then click Stop to send a diagnostic report.
Required Permissions
SideDisplay needs the following macOS permissions to work properly. Go to System Settings > Privacy & Security and enable SideDisplay for each:
⚙
Accessibility
Required for touch control — allows SideDisplay to move the cursor and perform clicks on your Mac from the Tesla touchscreen.
Privacy & Security > Accessibility > SideDisplay
🌐
Local Network
Required to communicate with devices on your local network, including your Tesla.
Privacy & Security > Local Network > SideDisplay
🖥
Screen & System Audio Recording
Required to capture your Mac's screen and stream it to the Tesla display.
Free to try — 60 min/week free, $10.99/year for unlimited
Troubleshooting: Wi-Fi network not visible on Tesla
If you've enabled Internet Sharing but your Tesla (or other devices) can't find the Wi-Fi network, your MacBook's Internet Sharing likely isn't set up correctly. Follow the steps below.
1. Keep Wi-Fi on, but disconnect from any network
Internet Sharing cannot broadcast while your Mac is already connected to a Wi-Fi network. The Wi-Fi interface itself must stay on, but no network should be connected.
Click the Wi-Fi icon in the Menu Bar and disconnect from any currently connected network.
2. Do not connect to iPhone's Personal Hotspot over Wi-Fi
Set up Personal Hotspot on your iPhone (Settings > Personal Hotspot), then connect the iPhone to your MacBook with a USB cable. Your Mac should use the iPhone as a USB tethered connection, not a Wi-Fi hotspot.
If your iPhone appears as a Personal Hotspot in your Mac's Wi-Fi list, disconnect it the same way as step 1.
3. Configure Internet Sharing
Go to System Settings > General > Sharing > Internet Sharing and configure it as follows:
Share your connection from: iPhone USB
To devices using: Wi-Fi
Internet Sharing: On
Click Wi-Fi Options to set your Network Name and Password, click OK, then Done.
After enabling Internet Sharing, click the Wi-Fi icon in the Menu Bar and confirm that it has changed to the Internet Sharing icon .